Thursday, July 28, 2011

Handmade Ukulele Gig Bag (Finale)

It's Thursday night! As I promised that I'd update the last episode of my handmade ukulele gig bag today, I think it isn't too late.

Okay, last time, I finished only one side piece. Let's start the other piece then. This one will be attached with zipper, so its width must be a little narrower. You may need to measure the width of zipper that you would like to make it visible for outside. Then make sure that the total width of visible zipper and the side fabric is equal to the width of the other side, which we already finished it last time.


Attach a handle.


Unzip and sew one side on the fabric. Be careful on this step if it will be zipped up or zipped down when the work is finish.


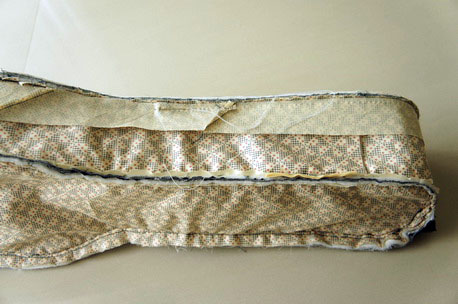
Assemble and sew it. Then cut down unwanted fabric.


Now, I will prepare the front piece of gig bag. Again, quilt the top fabric, fleece, and lining fabric together. I cut a thin PVC leather as a rectangular, fold one side, and stitch on it. This will be a flat pocket.


Sew this front piece together with the bag. Do not sew the part that we will attach the zipper yet.


Attach the zipper


Cover all fringes & joints with bias tape.


Reverse the bag inside out. Tear all tracing papers.
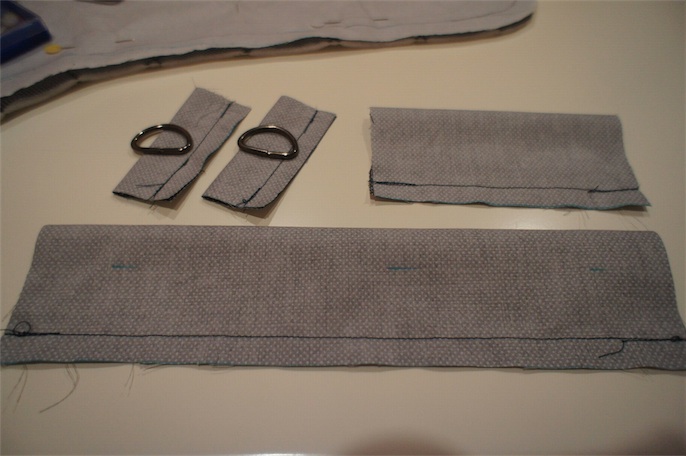

Prepare the strap.


, and finally... it's my gig bag!


Any comment or advise is very welcome :) 

Thanks for visiting.


Monday, July 25, 2011

Handmade Ukulele Bag

Hi,

I've just finished my ukulele bag project today and want to share it here. It took me about a month to finish since I have a full-time job and cannot do any much progress on each day. This is actually my second work since I bought a new sewing machine. It was not easy and not too hard to make it at the same time :P

I put all the steps here. If you have any question, please feel free to let me know.

First, I used my own typical ukulele bag as a prototype by putting it on tracing paper and drawing.
 

Prepare the top fabric and fleece. Then quilt.


Prepare the lining fabric and fleece. Then quilt. I doubled the layer of fleece for the back of ukulele bag. (the quality of pic isn't good because I took the picture at night without flash)


Put the wrong sides of top and lining pieces together.  The tracing paper is on top of them. I roughly cut along the trace & the top piece to make it easier when sewing.


Prepare parts of straps (not sure how to say in English)


Sew it to only top piece.


Then assemble all pieces together : tracing paper, top, lining, and sew along the trace.


Put it aside. We will make the side parts of the bag, one with & another one without zipper. For the one without zipper, prepare the top fabric & fleece. Quilt.


Sew it with the lining fabric.


The one with zipper must be narrower, and we need to make sure that the total length of side parts will be a little greater than the peripheral of the bag.

Make & put a handle on the zipper one.


Sew the zipper on it.


Prepare a rope bias tape.


Assemble the back piece, rope tape, and side piece without zipper together and sew.


..
I gotta go.. and will not be able to finish this post in next 2 days. I promise that I will come back on Thu with the complete topic. Thanks for visiting.

Pinku Almond

Monday, July 11, 2011

Welcome to Let's Craft

Hi Everyone,


I was surfing through online communities one day and found many fascinating activities. I saw some people doing a lot of things by themselves, e.g. cooking, planting, inventing, etc. They were so amazing, and finally I was introduced into a world of crafts. I first started playing with loom (a square knitting tool), then real knitting, and sewing. They're all fun and make me relax.


Please visit my blog sometimes. I'll keep sharing my projects here.


Cheers,
Pinku Almond